


")


")


Now, I remember my mom making Rice Krispie treats for me when I was a little mouse—back in the dark ages, before microwave ovens were everywhere.
She’d set a big pot on the stove to melt the marshmallows and butter together. It took a long time. There was constant stirring and fretting over whether the sugar would burn. And it produced the most fantastic, sticky mess afterward.
This is my updated technique, which uses the microwave to melt the marshmallows and butter. It produces basically the same treat—in almost no time, and with minimal clean-up when compared to stove-top cooking.
I think this is probably how a lot of folks make ’em these days. (Tell me, tell me! I’d love to know how you make yours!)
So here’s a step-by-step tutorial for how to make one of the yummiest goodies on the planet—and then take them over the top by making them in individual, chocolate-covered bundt form.
For a ridiculously decadent dessert, top a chocolate-covered Rice Krispie treat with a scoop or two of rich vanilla ice cream and (gasp!) more chocolate sauce.
Chocolate-Covered Rice Krispie Treats: So, what’s your microwave wattage?
Sadly (or not so sadly), our microwave died about a week ago. We picked up a new 1,000-watt Oster, and it’s working like a charm.
Your melting time will vary based on your microwave’s wattage. If it’s stronger than mine (more than 1,000 watts), lower your melting time. If it’s not as powerful, increase your melting time slightly.
Regardless, watch your marshmallows closely when they’re in the microwave. It’s only 2 minutes.
Chocolate-Covered Rice Krispie Treats: A note on marshmallows
Always use fresh, fluffy marshmallows. I’ve tried this before with ones that are slightly stale, and somehow, they tend to burn in the microwave.
I’ve always found that mini marshmallows melt much better in the microwave than regular-size ones. This recipe is specifically for the little guys.

Chocolate Covered Rice Krispie Treats
1 10.5-oz. bag mini-marshmallows
2 Tbls. butter
a splash of vanilla extract (maybe 1 tsp. or so)
4 cups Rice Krispie cereal
spray oil
2 cups chocolate chips
Spritz a 9-inch square baking pan (or other pan, such as a mini-bundt pan) with spray oil. Set aside.
Chocolate-Covered Rice Krispie Treats: First, let’s talk about making regular Rice Krispie treats
Put the mini-marshmallows in the largest microwave-safe bowl you have that will fit in your microwave.

You want to use a large bowl because the marshmallows are going to poof up a bunch as they get hot. You don’t want your bowl to overflow.

Grab your butter.

Slice it up into little pieces and dot it around on the top of the marshmallows.


Put your bowl in the microwave and cook on high for 2 minutes. (See my note above on how your timing may be different if your microwave isn’t 1,000 watts, like mine.)

After a minute or so, they’ll start to poof up. After about 2 minutes, they should look about like this:

Some will look completely melted, some won’t. That’s just fine. (The ones that don’t are still hot on the inside.)
Give them a stir, and they should start to break down.

Stir them til the marshmallows are completely melted. If you need to, pop them back in the microwave for another 15 seconds or so.
Add a little vanilla extract. Stir to mix it in.

At this point, it’s going to look kind of like an icky-sticky mess and you might wonder if you’re doing something wrong.
You’re not. Keep going. They’re going to look like the treats you know and love the minute you dump in the Rice Krispies.
Toss in 2 cups of the Rice Krispies.

Stir to combine the cereal and hot marshmallow mixture.

Add the other 2 cups of cereal.

Stir to combine until the mixture is even. Be sure that you’re getting the melted marshmallow at the bottom of the bowl as you stir.
(I find that it’s easier to add the cereal in two batches. It keeps the Krispies from flying all over as you stir.)
And, voila!

Spoon the mixture out into your prepared pan. Then spray your hands with a tiny bit of oil.

Using your hands, pat the mixture down until it’s level and fills the pan. Then press it down a bit to compact it.


OK, now how about those fancier, chocolate-coated Rice Krispie treats?
Yep, yep. The difference here is all in your choice of pans.
I use this Nordic Ware Multi Mini Cast Bundt Pan, but any “mini” cake pan or muffin tin will do.

The size and shape doesn’t matter (after all, you’re not cooking them in the pan), and is totally up to you. You could even roll the mixture into balls or make free-form shapes.
Spray your pan lightly with oil.
Follow the instructions above to make regular Rice Krispie treats.
Press your finished mixture into your greased pan.


Fill your pan up until you use all the mixture. Set it aside to cool while you melt your chocolate.
Chocolate-Covered Rice Krispie Treats: Melt the chocolate
2 cups of chocolate chips is really kind of a ballpark measurement, since how much chocolate you use will really depend on how thick you want the chocolate coating on your treats. Adjust your amount up or down as you see fit.
Fill a pan with an inch of water. Set it on the stove over high heat. Bring it to a boil.

Put your chocolate chips in a heatproof bowl.

Set the bowl on top of your pot of boiling water. Turn the heat down to low.
Stir the chocolate until it’s completely melted.


Turn the heat off and leave your chocolate on the stove to stay warm while you loosen your treats.
Chocolate-Covered Rice Krispie Treats: Remove the Rice Krispie treats from the pan
Set a plate or sheet pan on your counter. Put a baking rack on top of it, like this:

Gently loosen each treat from your pan with your hands and pull it out.


Set each treat down on your baking rack.

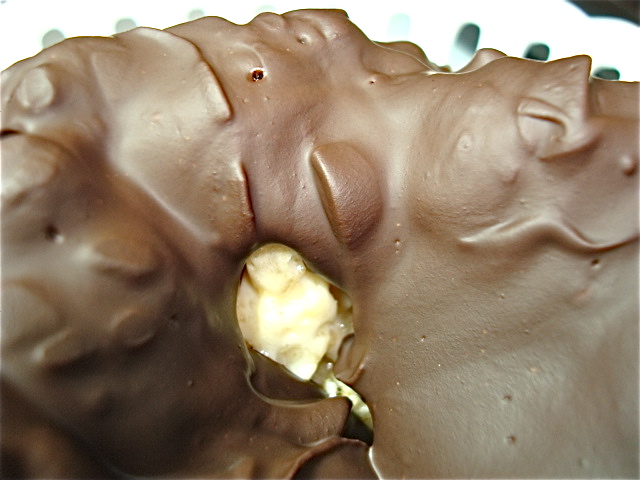
Drizzle the melted chocolate over your treats, letting the excess drip down through the rack.


Your chocolate will likely be fairly thick. Use your fingers or a spoon to distribute the chocolate to ensure that your treat has the chocolate jacket you were after.

When your treats are coated, stick them in the fridge for at least an hour or so to help solidify the chocolate and firm up the marshmallow-y base.

They hold up pretty well for a day or two in the fridge. Not sure about how they’d fair on the counter, since I didn’t temper the chocolate (to help it maintain its glossy surface).

Serve and enjoy!
***
Copyright 2008-2009 The Hungry Mouse�/Jessica B. Konopa. All rights reserved.


 Easter Projects")

